 Jan Slifka
In the previous tutorial, we’ve seen how to configure and use a new integration with an integration question. We integrated bio.tools — bioinformatics tools and services discovery portal. Now we will improve the item template for the integration to include more information and present it nicely.
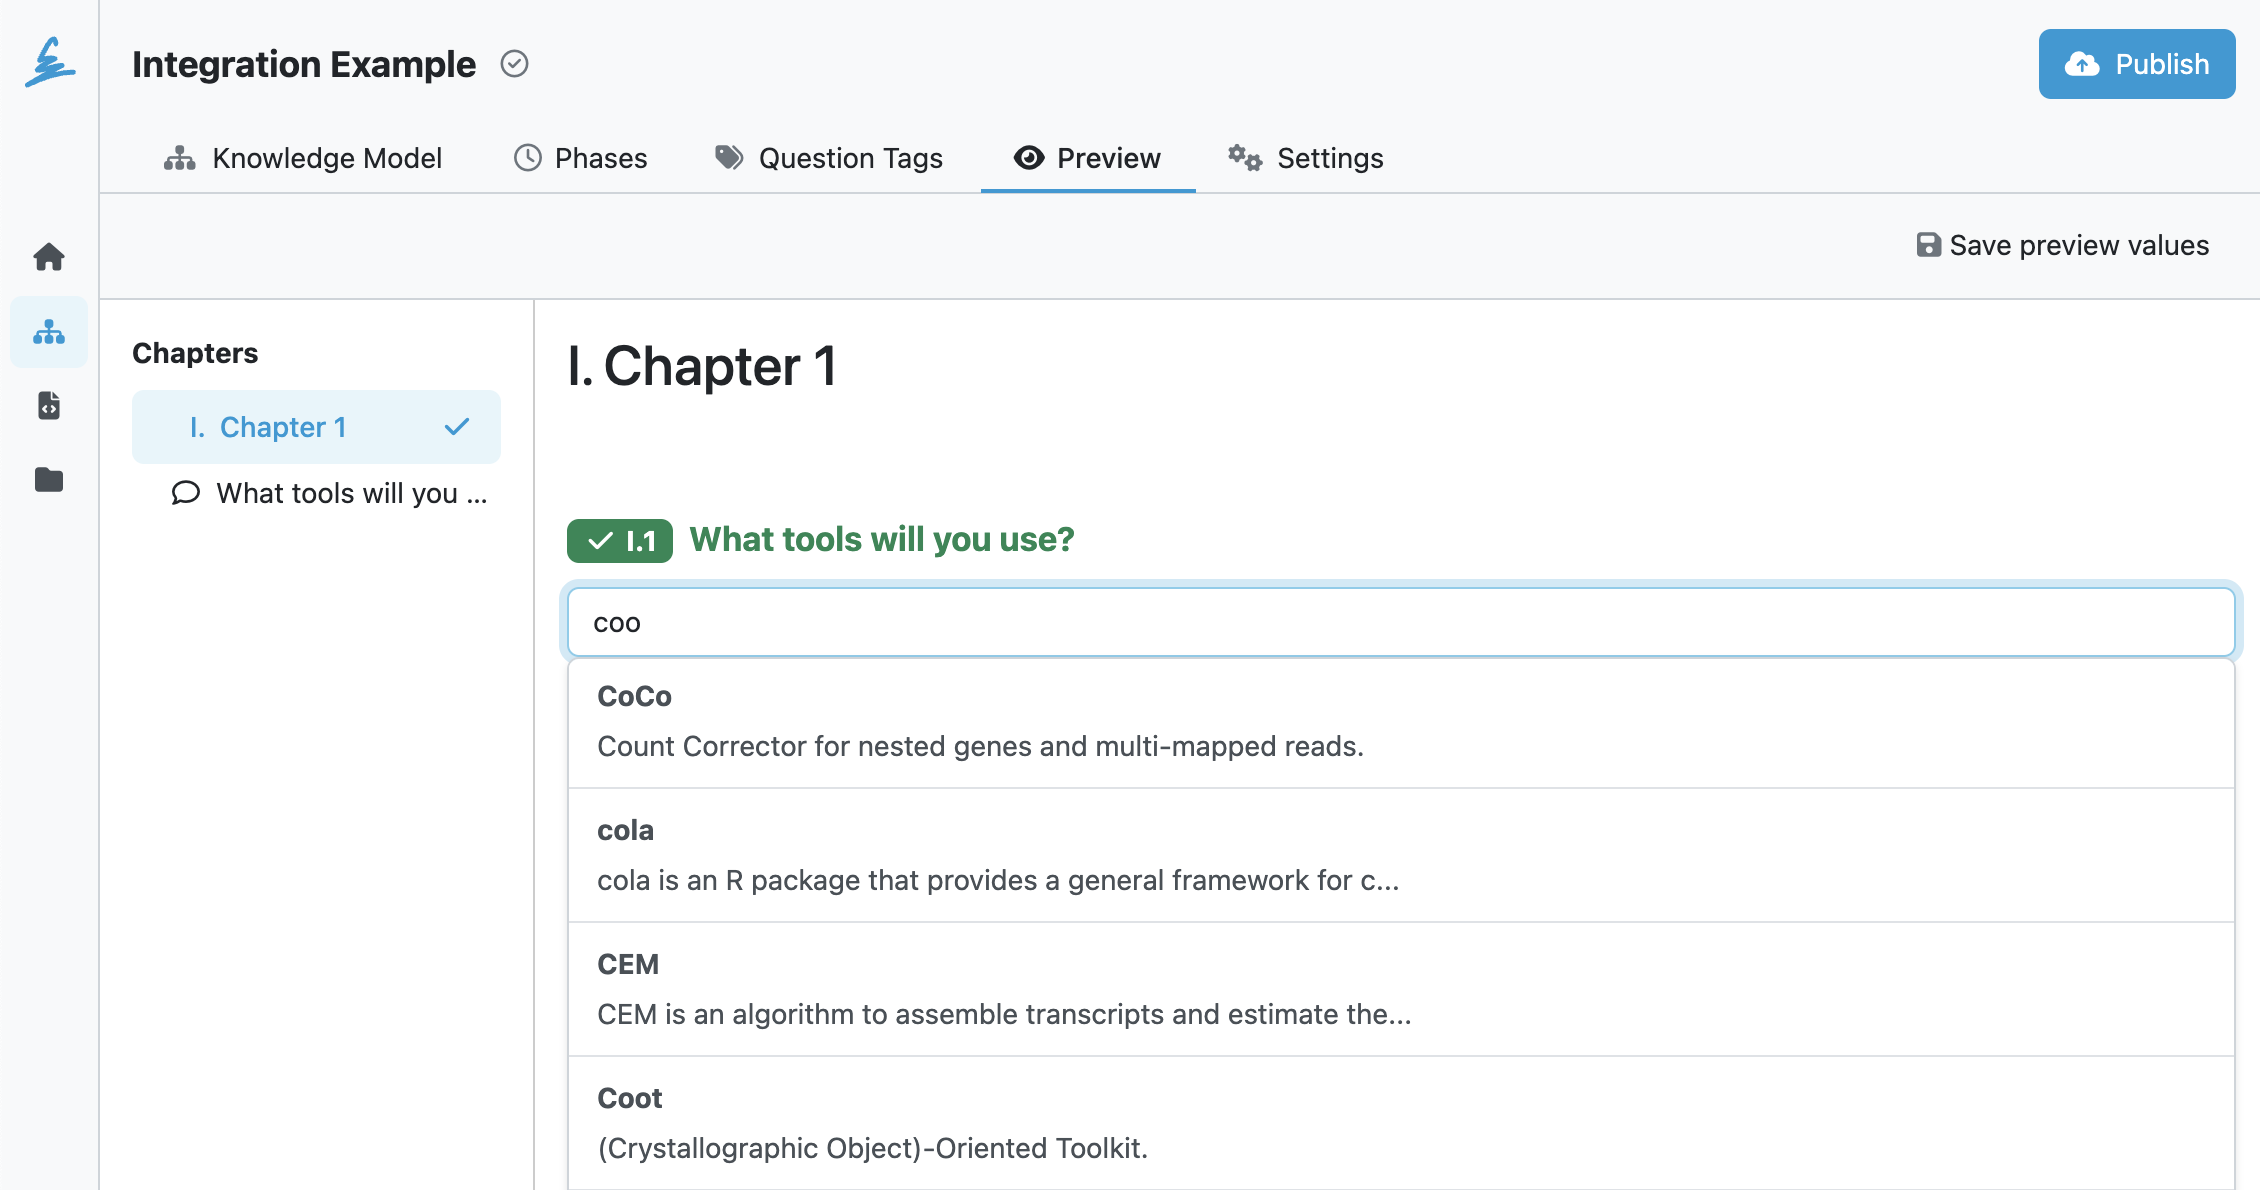
We navigate to our previous tutorial’s knowledge model and open the integration configuration. We are interested in the Response Item Template field. We can use this field to configure how the item is presented to the user using Jinja2 (Ginger implementation, to be precise) and Markdown. We can access the whole JSON object of the given item using the item property. So, for example, if it contains a name property, we can use {{item.name}}. That's what we used last time to display the item's name.
Markdown is a simple markup language that we can use for some simple formatting (you might know it from, for example, GitHub readme files).
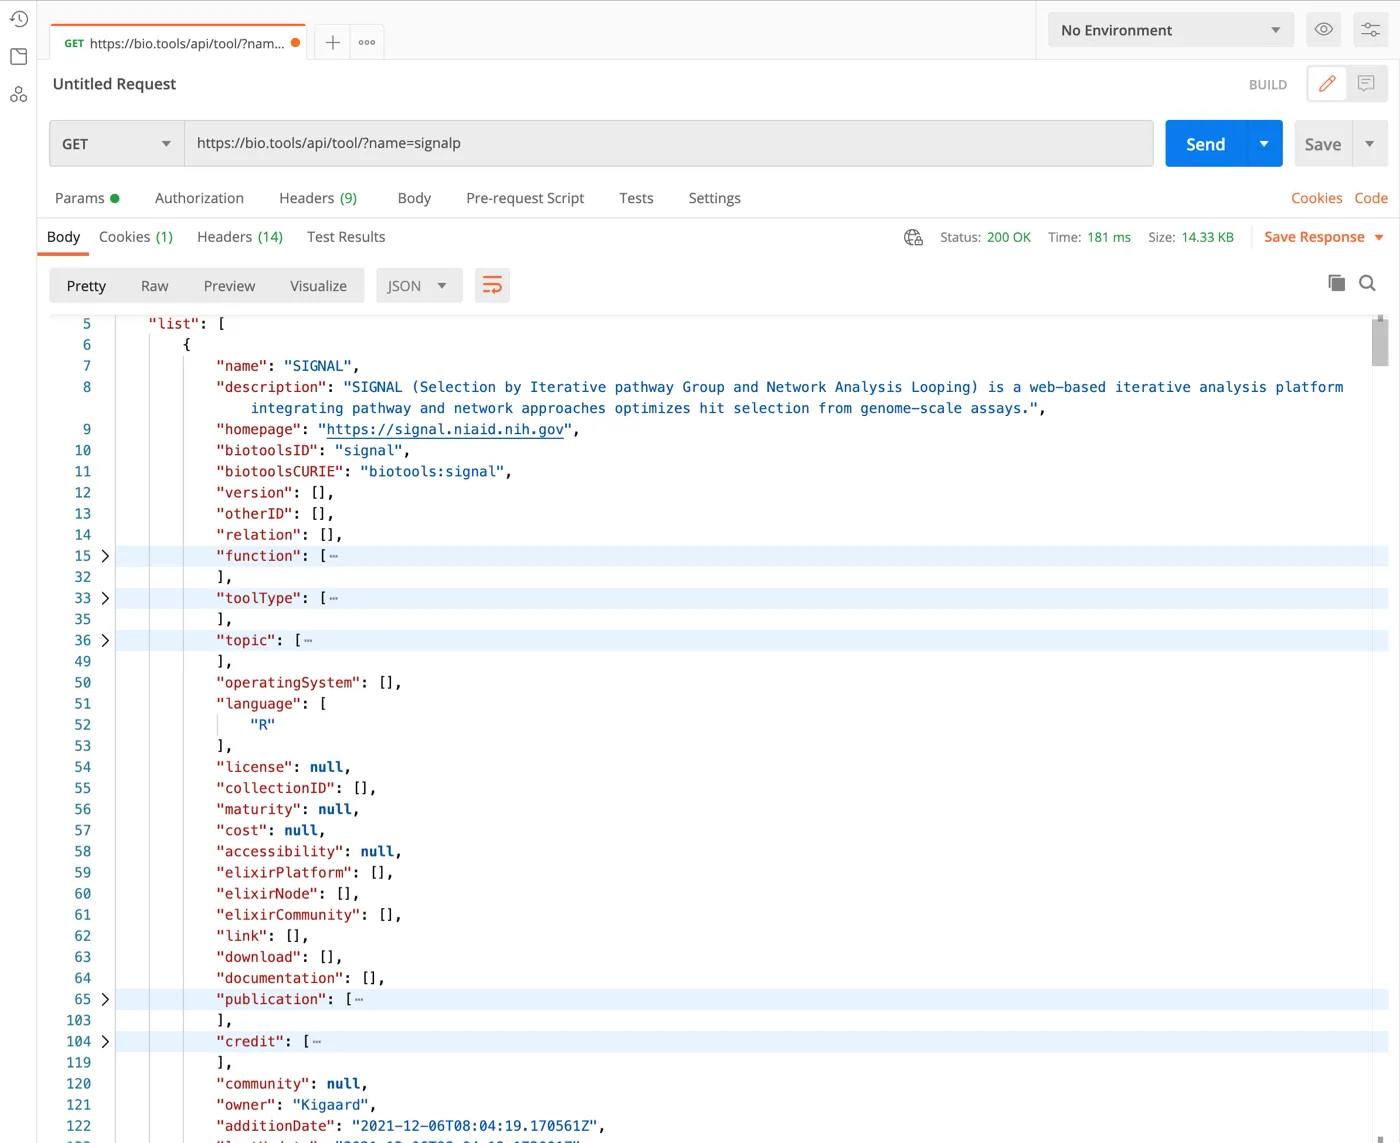
We start with setting the title bold using the Markdown syntax — wrapping the item name into a double asterisk (**). We also add the description of an item. When we explore the properties of the returned JSON from bio.tools, we can see that the description is under the description field. Thus we can simply use {{item.description}} to display it.
So we change the value of Response Item Template to this (note that we need to write two newlines to have another paragraph in Markdown):
**{{item.name}}**


{{item.description}}
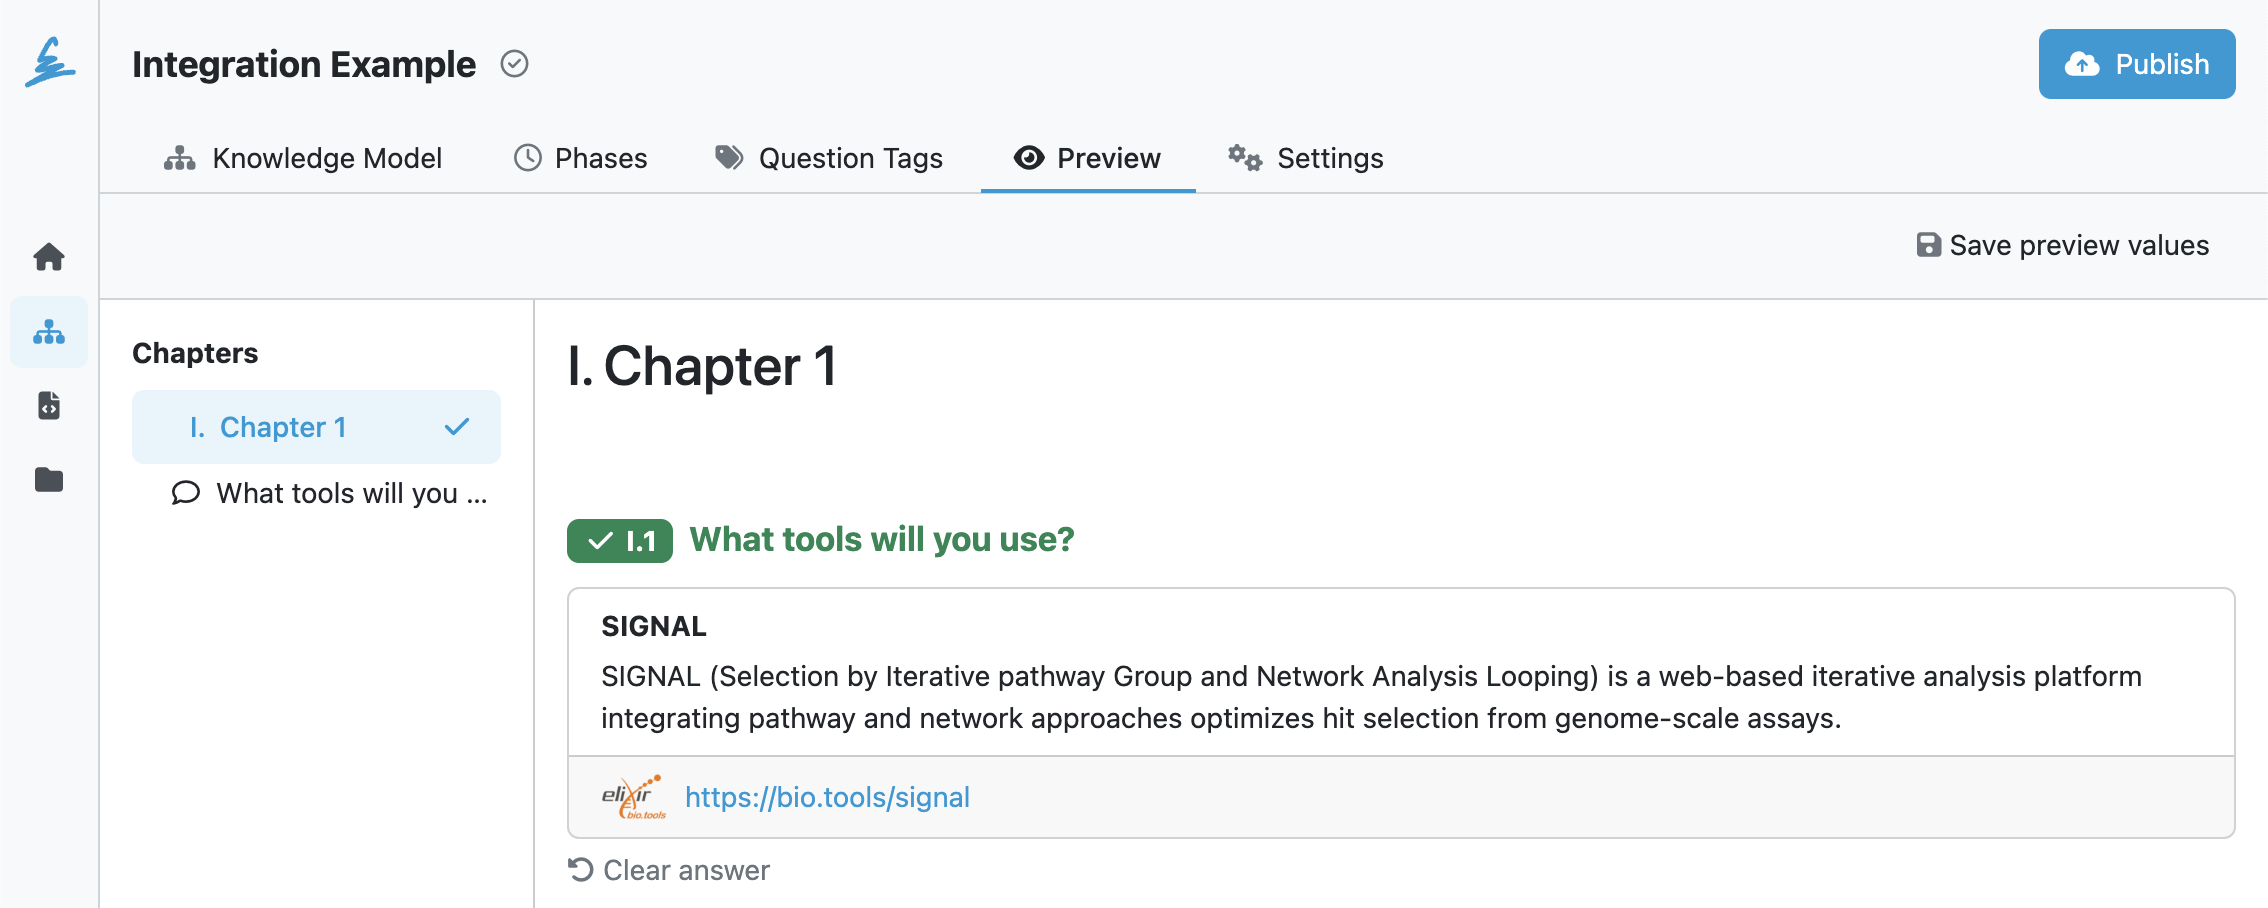
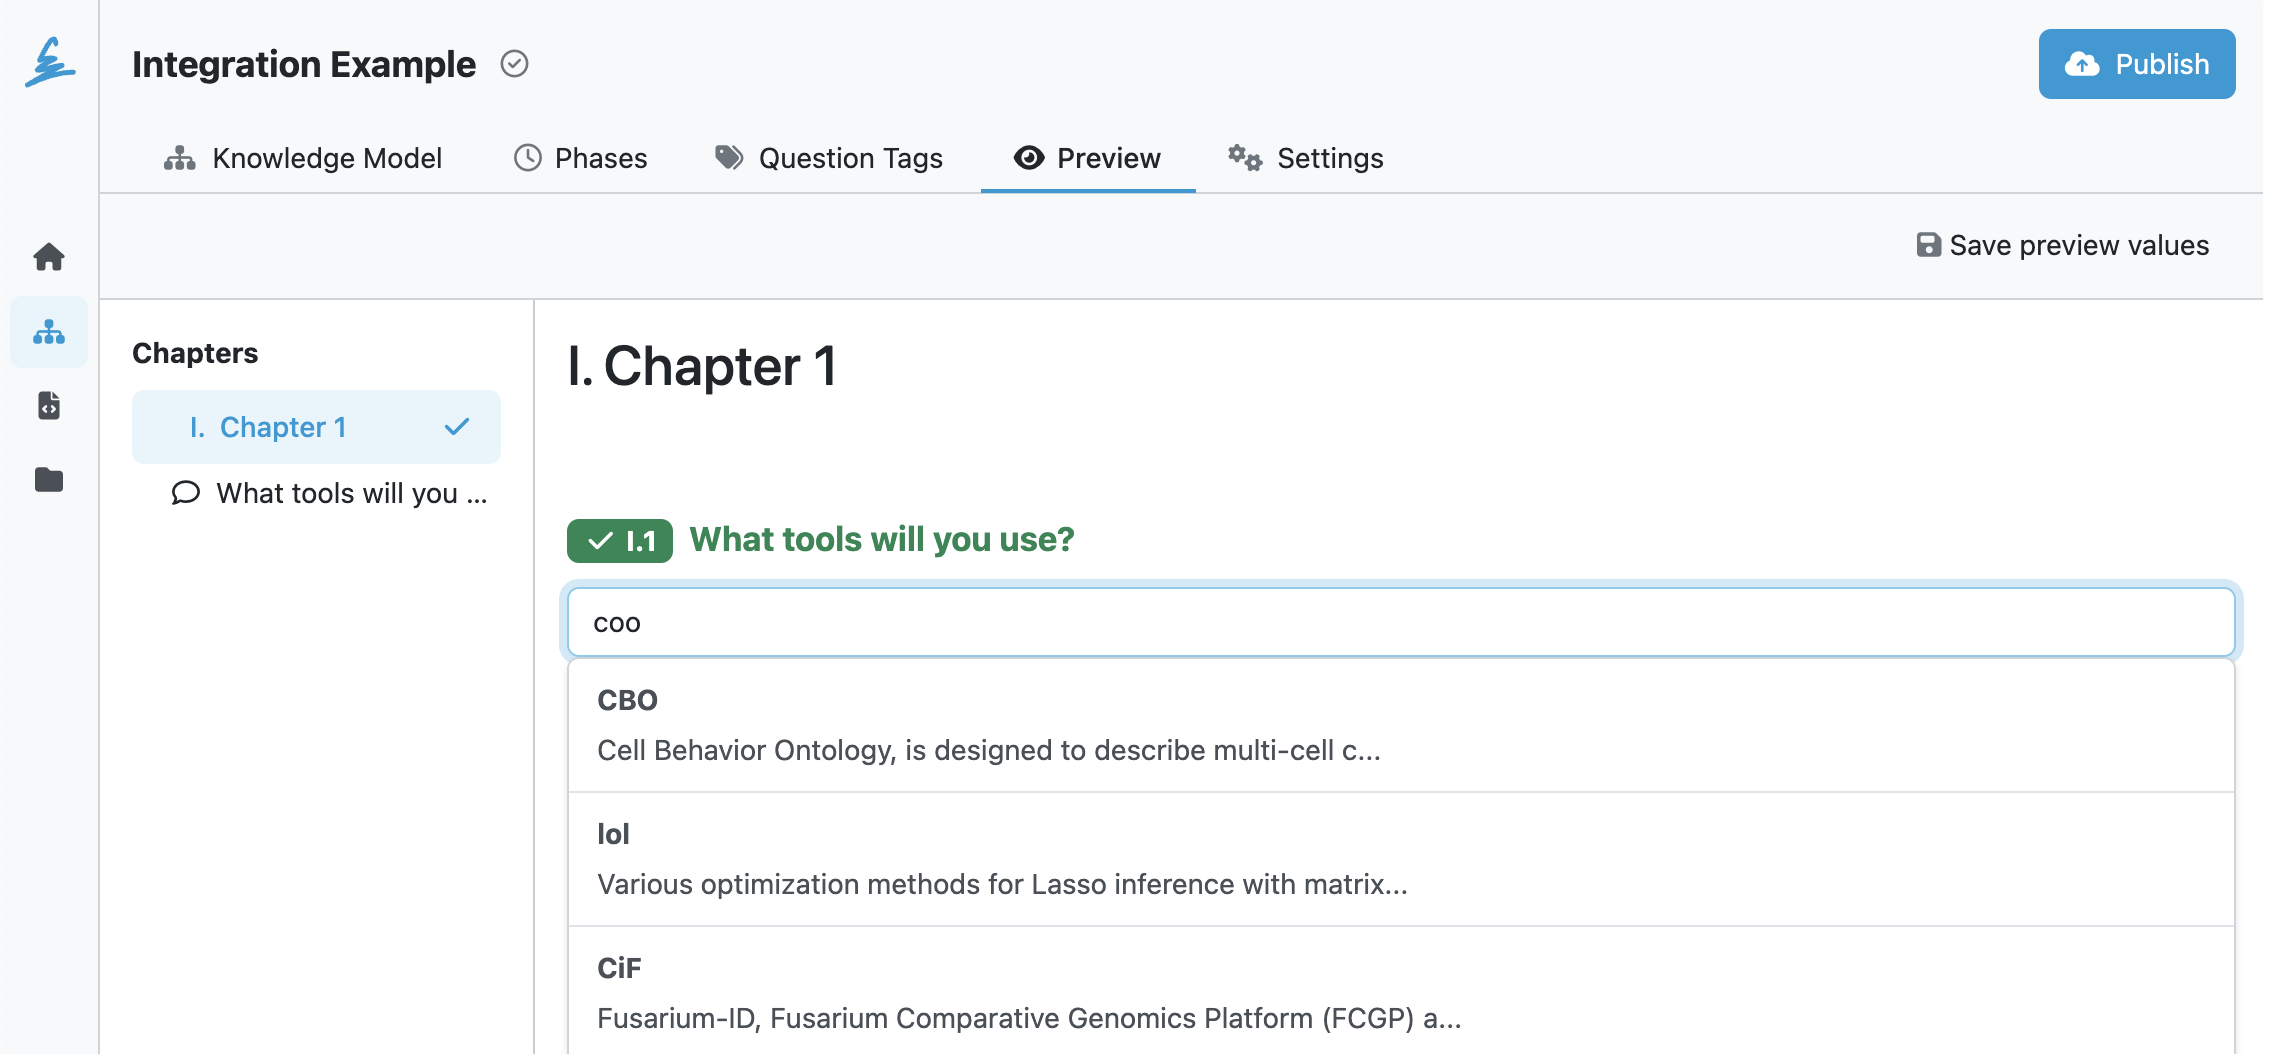
We can now jump to Preview and see the name in bold, and the description is there.
The description can be quite long for some items, so let’s say we want to display only the first 60 characters and add triple dots at the end. In the Ginger User Guide, we can find some filters that we can use. We are particularly interested in slice, which can take a given number of characters from the starting position. To apply a filter to a property, we connect them with the | character. So we update our Response Item Template to:
**{{item.name}}**


{{item.description|slice(0, 60)}}...
Looking at the items now, we can see that the slice works well. However, some descriptions are shorter than 60 characters, and the triple dots are unnecessary. We can wrap the triple dots into an if statement. The if statement evaluates a condition, and if it’s truthy, it will render the body.
{% if condition %}
True branch body
{% endif %}
There is another filter called length which we can use to get the length of the description and check if it's longer than 60 characters. Our new Response Item Template looks like this:
**{{item.name}}**


{{item.description|slice(0, 60)}}{% if item.description|length > 60 %}...{% endif %}
When we go to the Preview now, we can see that the triple dots are correctly added only to the descriptions longer than 60 characters.
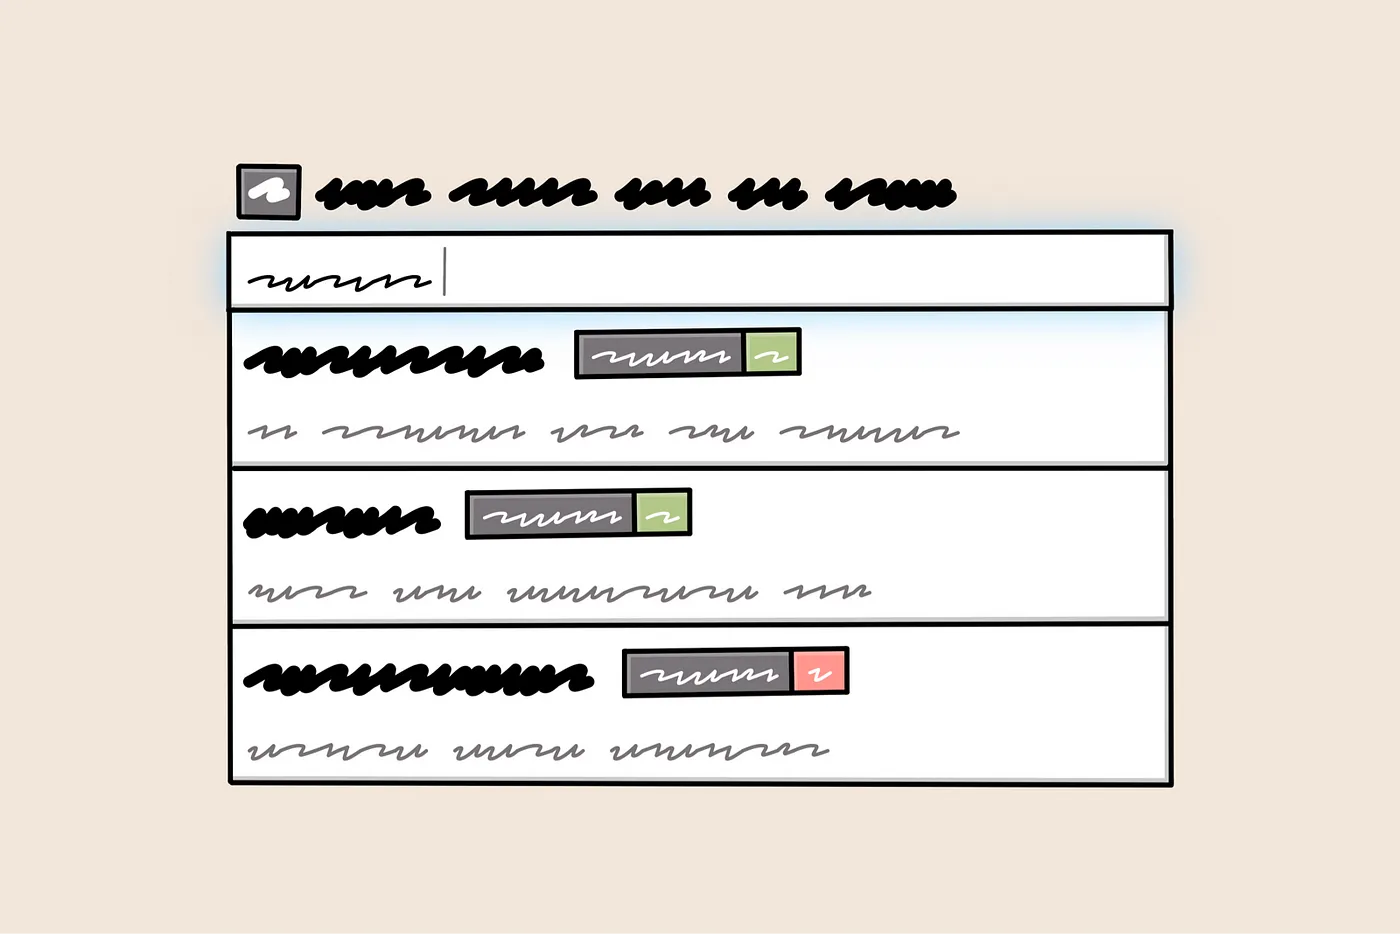
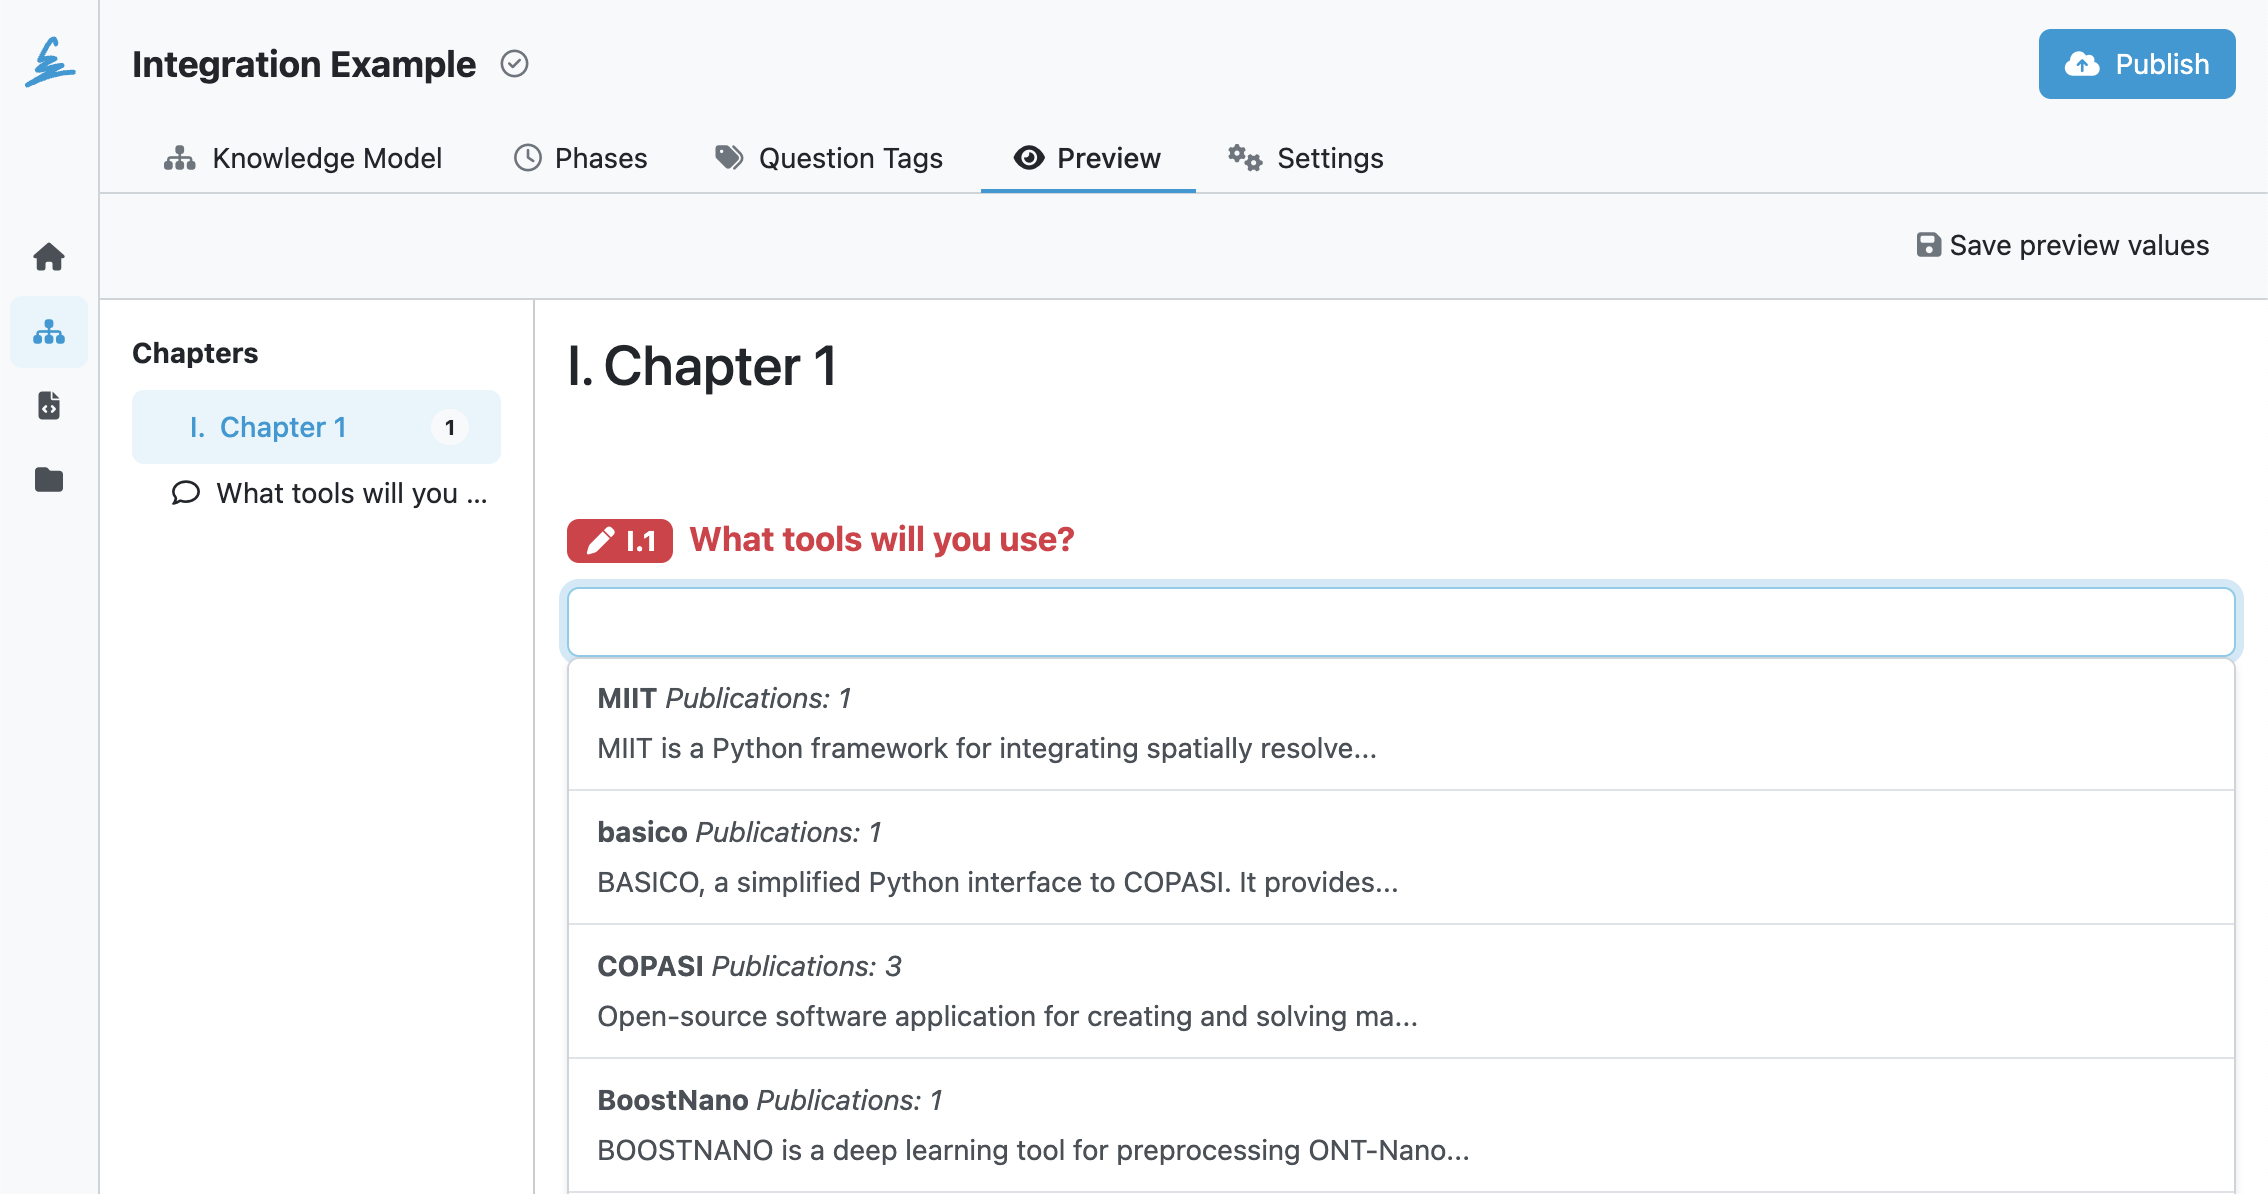
Looking at the JSON data, we can see a list of publications for each item under the field called publication. Let's display a number of publications for each item. We've already used the length filter. Now, we render the value instead of using it in the if condition. And wrapping the value in single asterisks, we make it cursive in Markdown syntax.
**{{item.name}}** *Publications: {{item.publication|length}}*


{{item.description|slice(0, 60)}}{% if item.description|length > 60 %}...{% endif %}
While this looks nice, we can improve it even further. We can use a service like Badgen to display the publication count as a nice badge. It generates an image badge based on a URL like this (simplified):
https://badgen.net/badge/:subject/:status/:color
                          ───┬───  ──┬───  ──┬──
                             │       │       │
                             │       │       │
                            TEXT    TEXT    RGB / COLOR_NAME
Since Markdown can show images (the notation is ), we have everything we need. In the Badgen image URL, we use Publications as :subject, the number of publications (using Jinja2 filter as before) as :status, and for :color, we just use blue for now. So the new Response Item Template looks like this:
**{{item.name}}** 
{{item.description|slice(0, 60)}}{% if item.description|length > 60 %}...{% endif %}
Since we can specify color in the Badgen image URL, we can update our items to have red badge if they have zero publications and green if they have any. We could use the if statement again, but we’ll use the ternary operator instead. It is a shorthand for the if-else when we just need to return a value — condition ? <true value> : <false value>. Our condition is whether the number of publications is greater than zero. The true value is 'green', and the false value is 'red'. Note that we need to use quotes around the color names as we return a string value that is rendered using Jinja2. The whole Response Item Template after these changes looks like this:
**{{item.name}}** 
{{item.description|slice(0, 60)}}{% if item.description|length > 60 %}...{% endif %}
In this tutorial, we explored how to use Markdown and Jinja2 to improve the items presented in an integration question. You can now look at the Ginger user guide to explore all the options it offers and experiment on your own with the item templates.